This website may contain affiliate links and advertising so that we can provide recipes to you. Read my disclosure policy.
You asked for help with yeast, so I have created a “How to Bake with Yeast” guide just for you! Yeast doesn’t have to be intimidating, and I hope that by the end of this post, you will be an expert!
Some of my favorite recipes that I use with yeast are my Grandma’s Perfect Homemade Bread, or these yummy Poffertjes!

What is Yeast and Why Do I Use It?
To put it simply, yeast is a leavening agent, which means it’s the ingredient that makes bread and batters fluffy and porous. Yeast is a natural leavening agent while baking powder and baking soda are chemical leavening agents. Baking powder and baking soda are to cakes what yeast is to bread.
How Does Yeast Work?
Yeast is actually made up of microscopic fungi. It’s a living organism that feeds off sugars and nutrients and converts them into carbon dioxide, which creates spaces within a dough and fills them with gas. Gluten strands hold the gas in place, like filling a balloon with air. All these spaces filled with carbon dioxide cause the dough to rise and expand, which will determine texture and flavor.
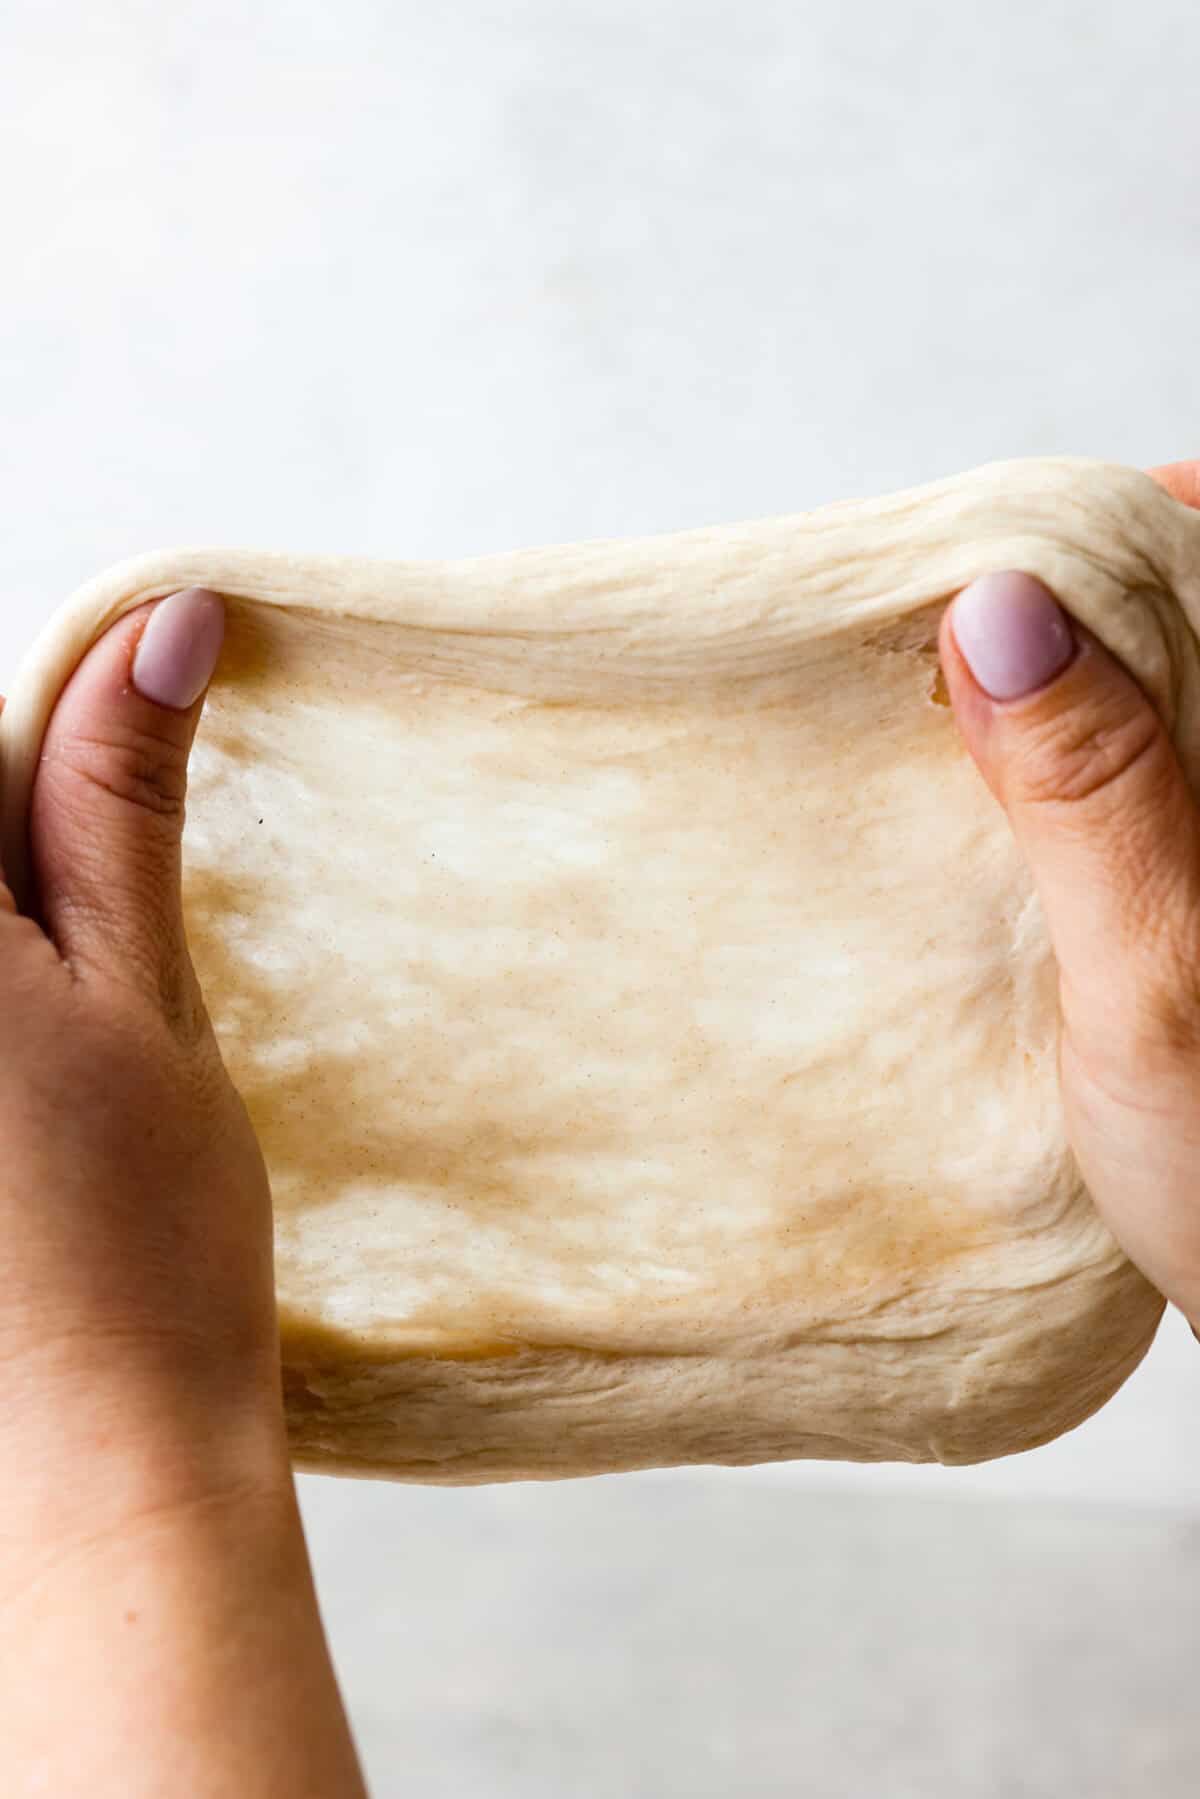
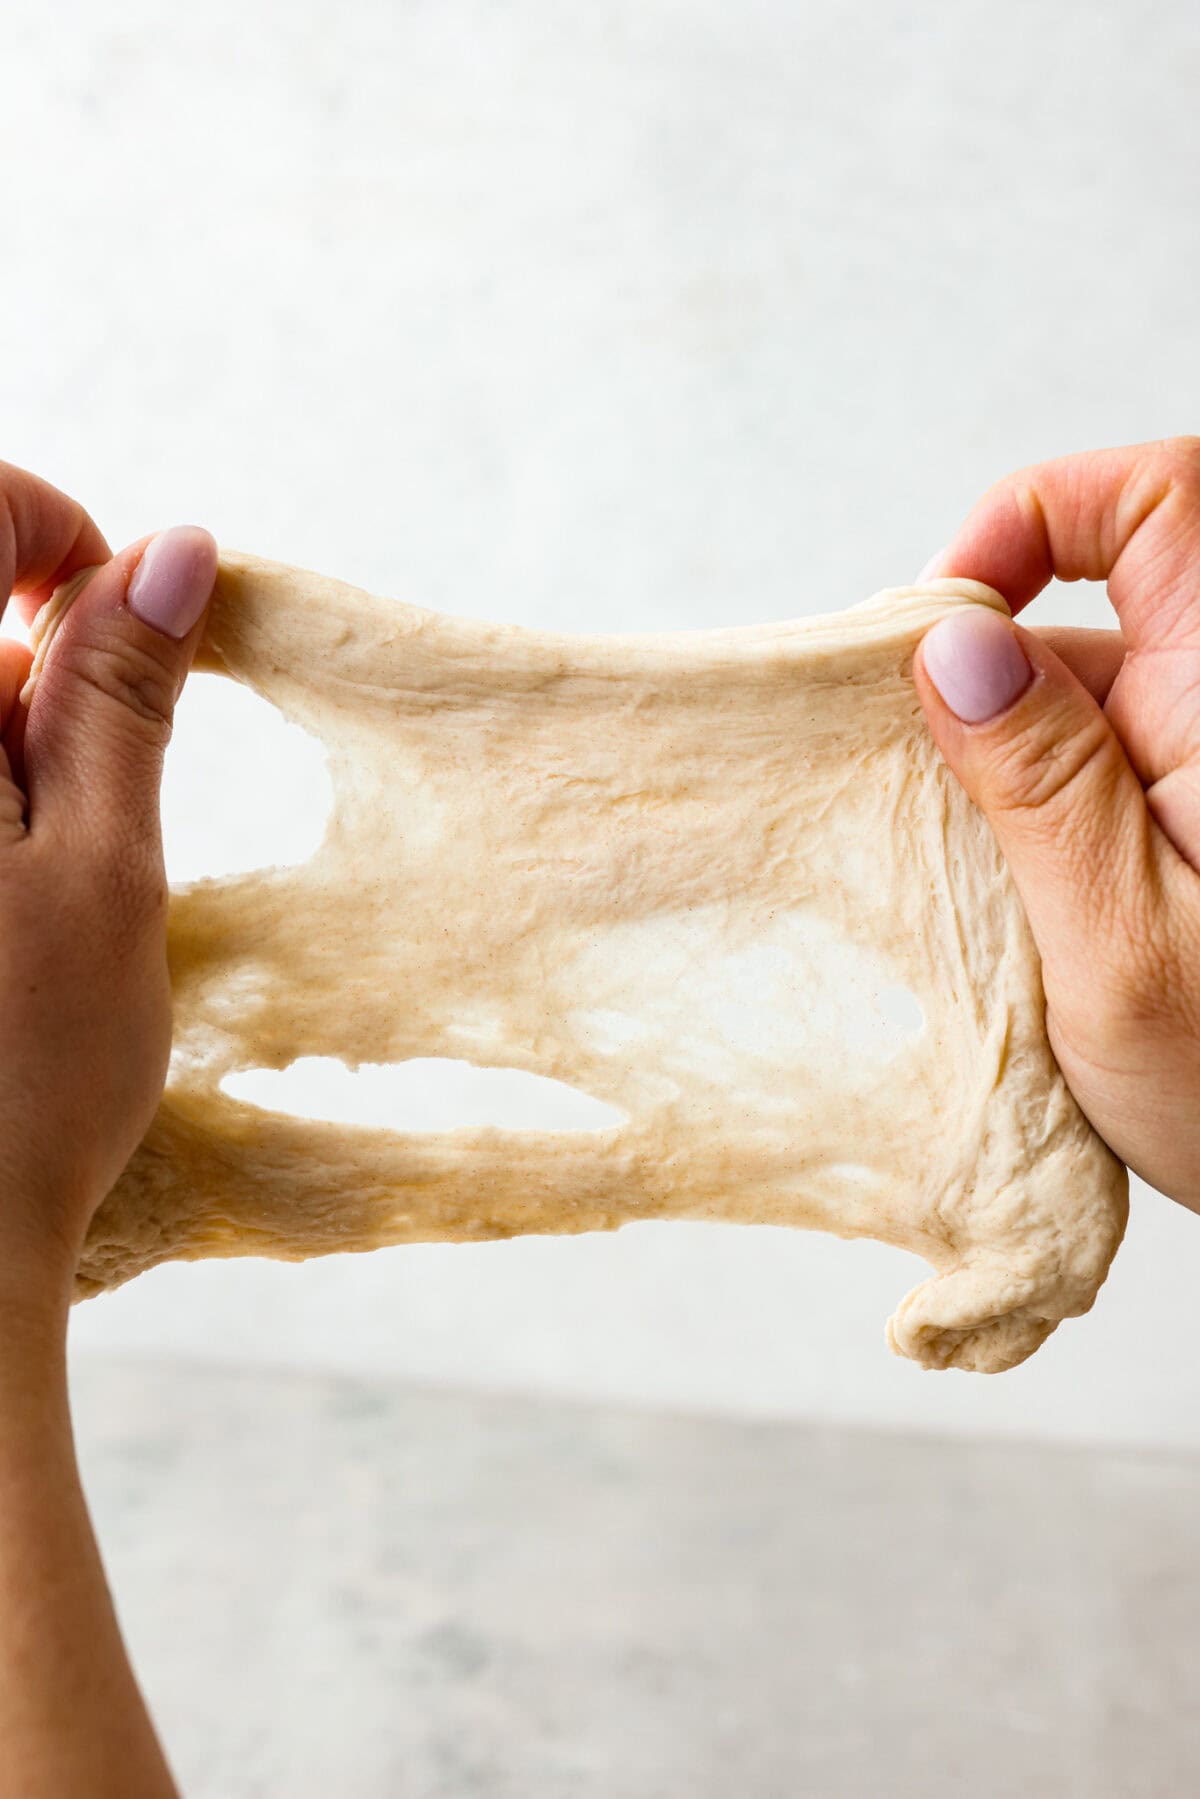
Gluten Window Test
To test whether your gluten is strong enough (meaning checking to see if your dough worked enough and will rise and expand) you can do a gluten window test. This is when you stretch the dough out between your hands like a square window. If the dough holds and stretches nicely, the gluten is strong enough, and it will hold together, creating a bread with good rise, texture, and flavor.
What Affects How Dough Rises?
It’s really important to check if your yeast is healthy. If it’s old or not good anymore, it won’t be able to do its job of making your dough rise.
- Age of Yeast: If your yeast is expired, it won’t make your dough rise.
- Liquid Temperature: Most recipes call for warm water or milk to grow yeast. However, you should make sure that the water isn’t too hot. If it’s too hot, the yeast will start to die. The ideal temperature for yeast to grow in is 100-110°F. Yeast will die at 140°F.
- Room Temperature: When you are trying to get your dough to rise, the temperature of the room matters a lot! If the room is too cold, the yeast works really slowly, and your bread will turn out hard and dense with no flavor. If it’s too hot, the yeast works fast. The dough will flatten with the slightest disturbance and deflate in the oven if it is over proofed.
- Quality of Flour: If your flour is old, it won’t have the proper nutrients to feed the yeast, which will result in flat or dense loaves.
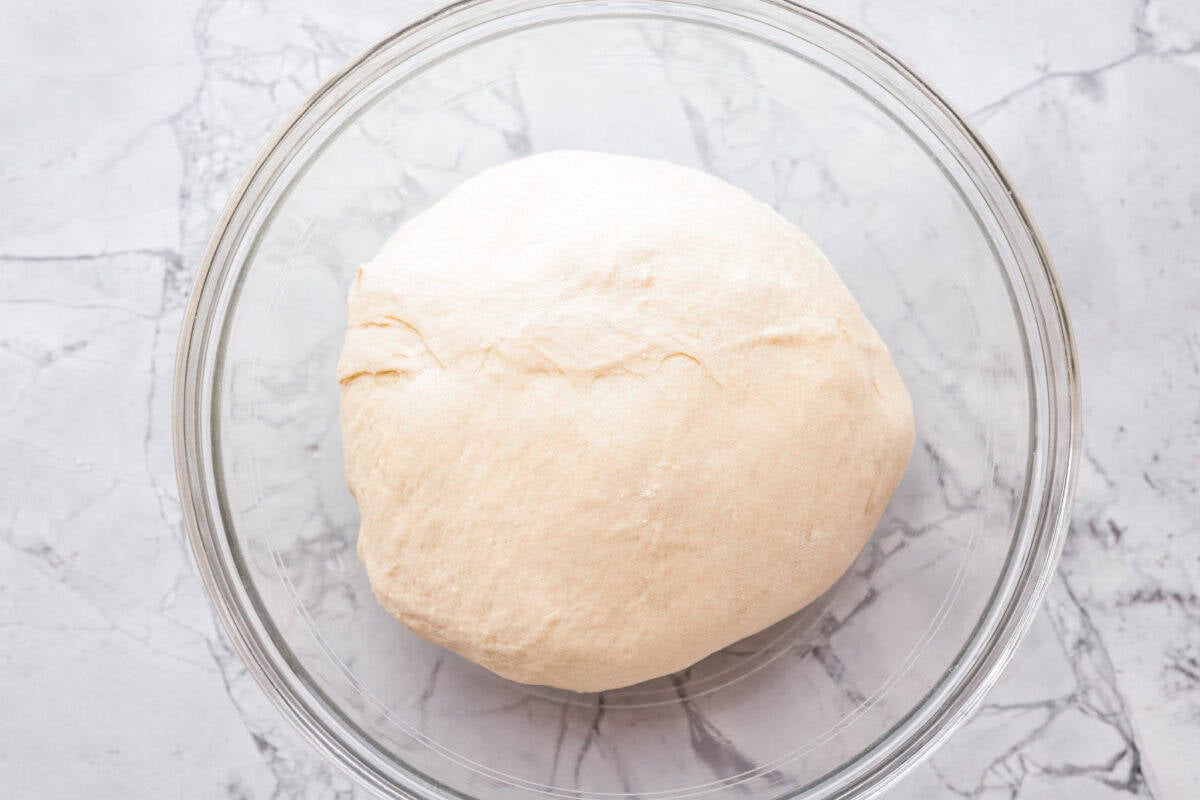
What is Proofing Time?
Proofing means letting your dough rest for a specific amount of time before it’s ready to bake or cook. Follow this carefully based on your recipe. If you don’t let it rest enough, your dough will be dense. If you let it proof for too long, the dough will flatten, and the yeast will eventually die off. Keep in mind that when it comes to bread and baking with yeast, the longer your dough proofs, the more flavor it will develop.
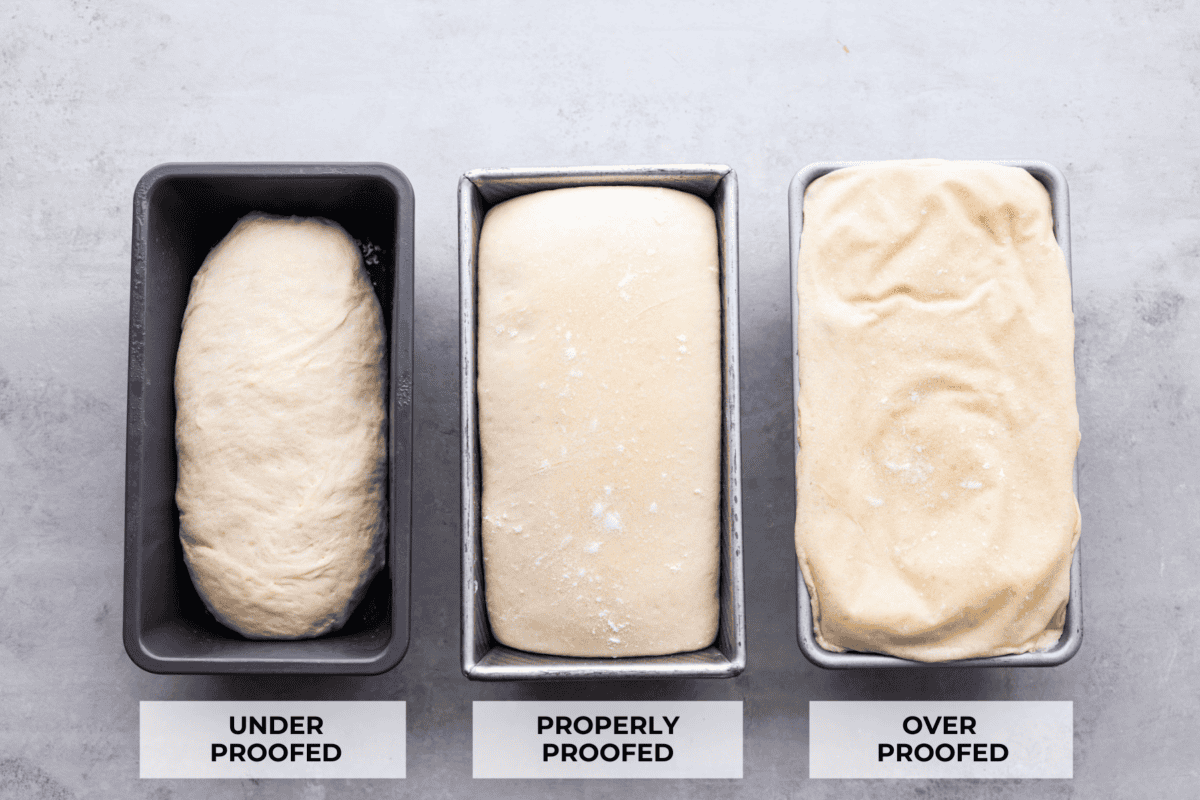
Is My Dough Over Proofed or Under Proofed?
- Indentation Test: Press your finger gently into the dough. If the indentation remains and doesn’t bounce back, it’s likely over proofed. If it springs back quickly and completely, it’s likely under proofed.
- Appearance: If the dough looks excessively puffy, has a sticky surface, or appears to be deflated or collapsed, it may be over proofed. If the dough is dense and compact, it is underproofed.
- Texture: Over proofed dough may feel too soft or delicate. It might lack the elasticity and structure typically associated with properly proofed dough. Under proofed dough may feel tough and resistant when touched.
- Smell: An over-proofed dough might have a slightly sour or fermented smell, indicating that the yeast has exhausted its food source.
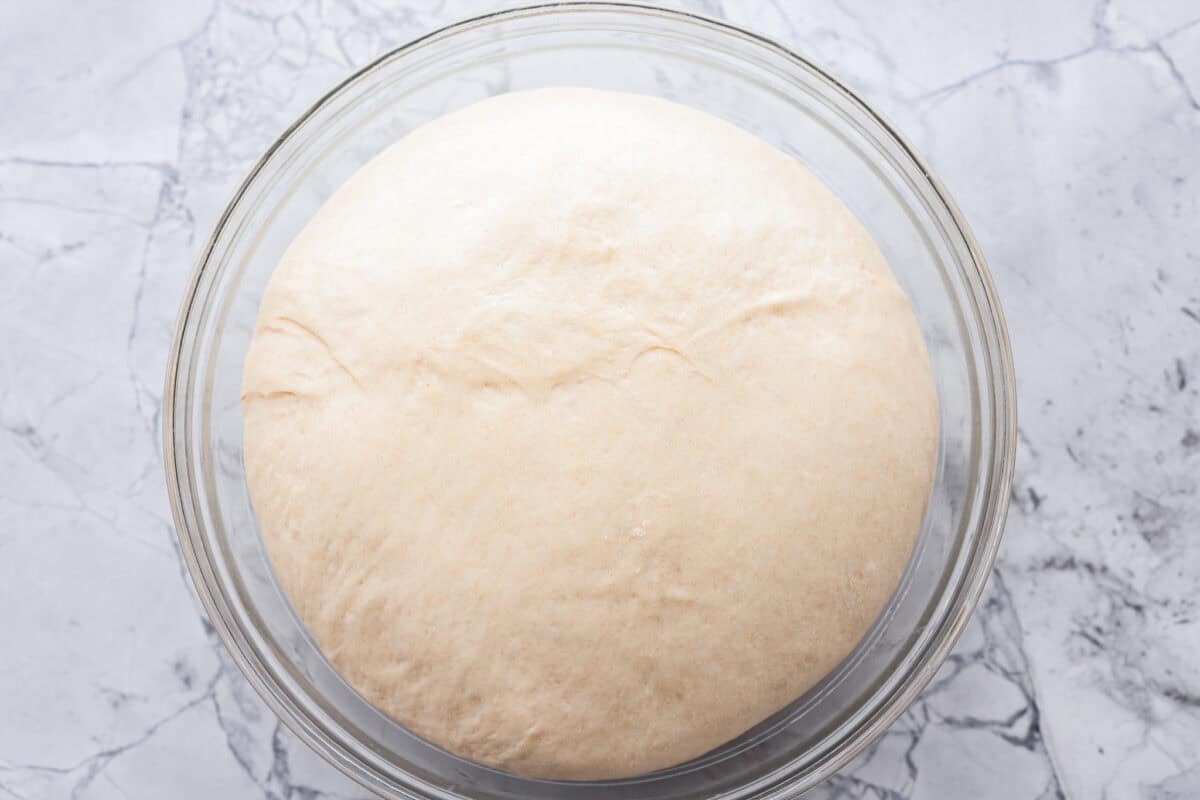
- Time: If the dough has been proofing for significantly longer than the recommended time in the recipe, it’s likely over-proofed. If it hasn’t doubled in size, it’s likely underproofed.
Yeast Measurements
When it comes to baking with yeast, I like to follow a recipe that already has all the measurements laid out to keep things simple, but as a rule of thumb, for every 1 cup of flour, you’ll want ¼ -½ teaspoon of yeast
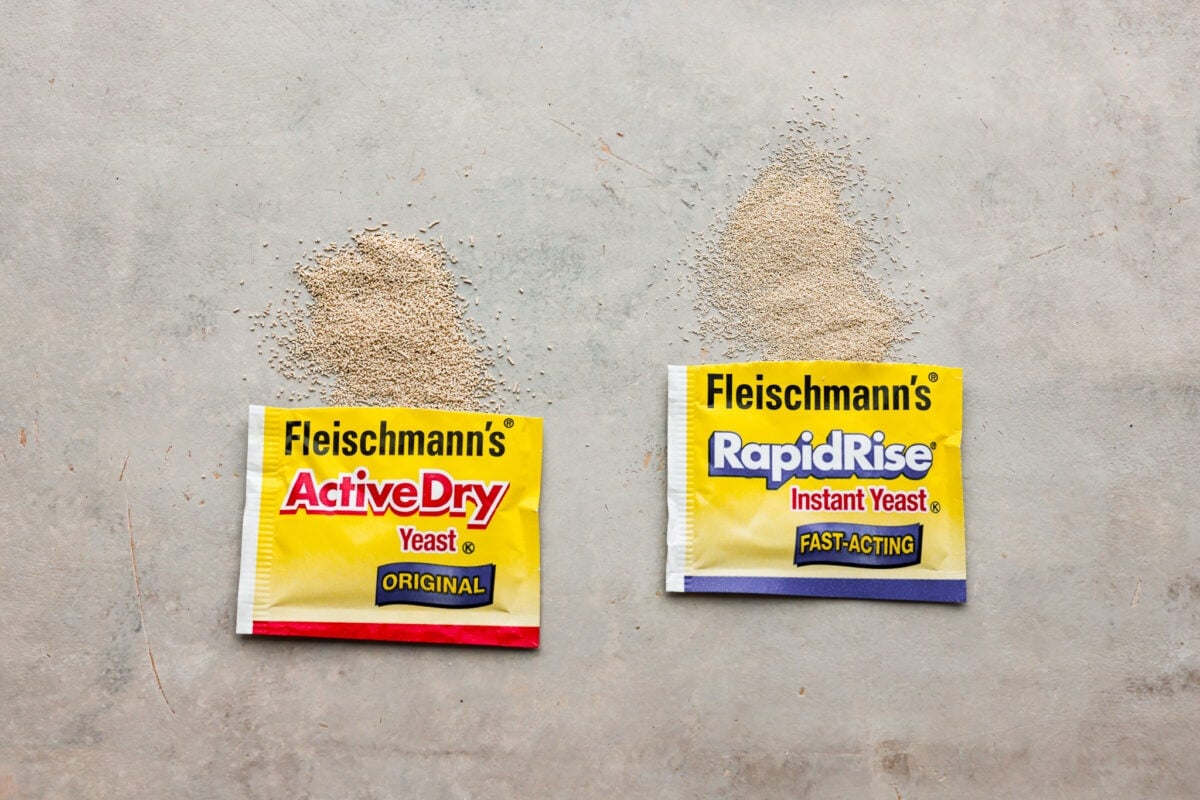
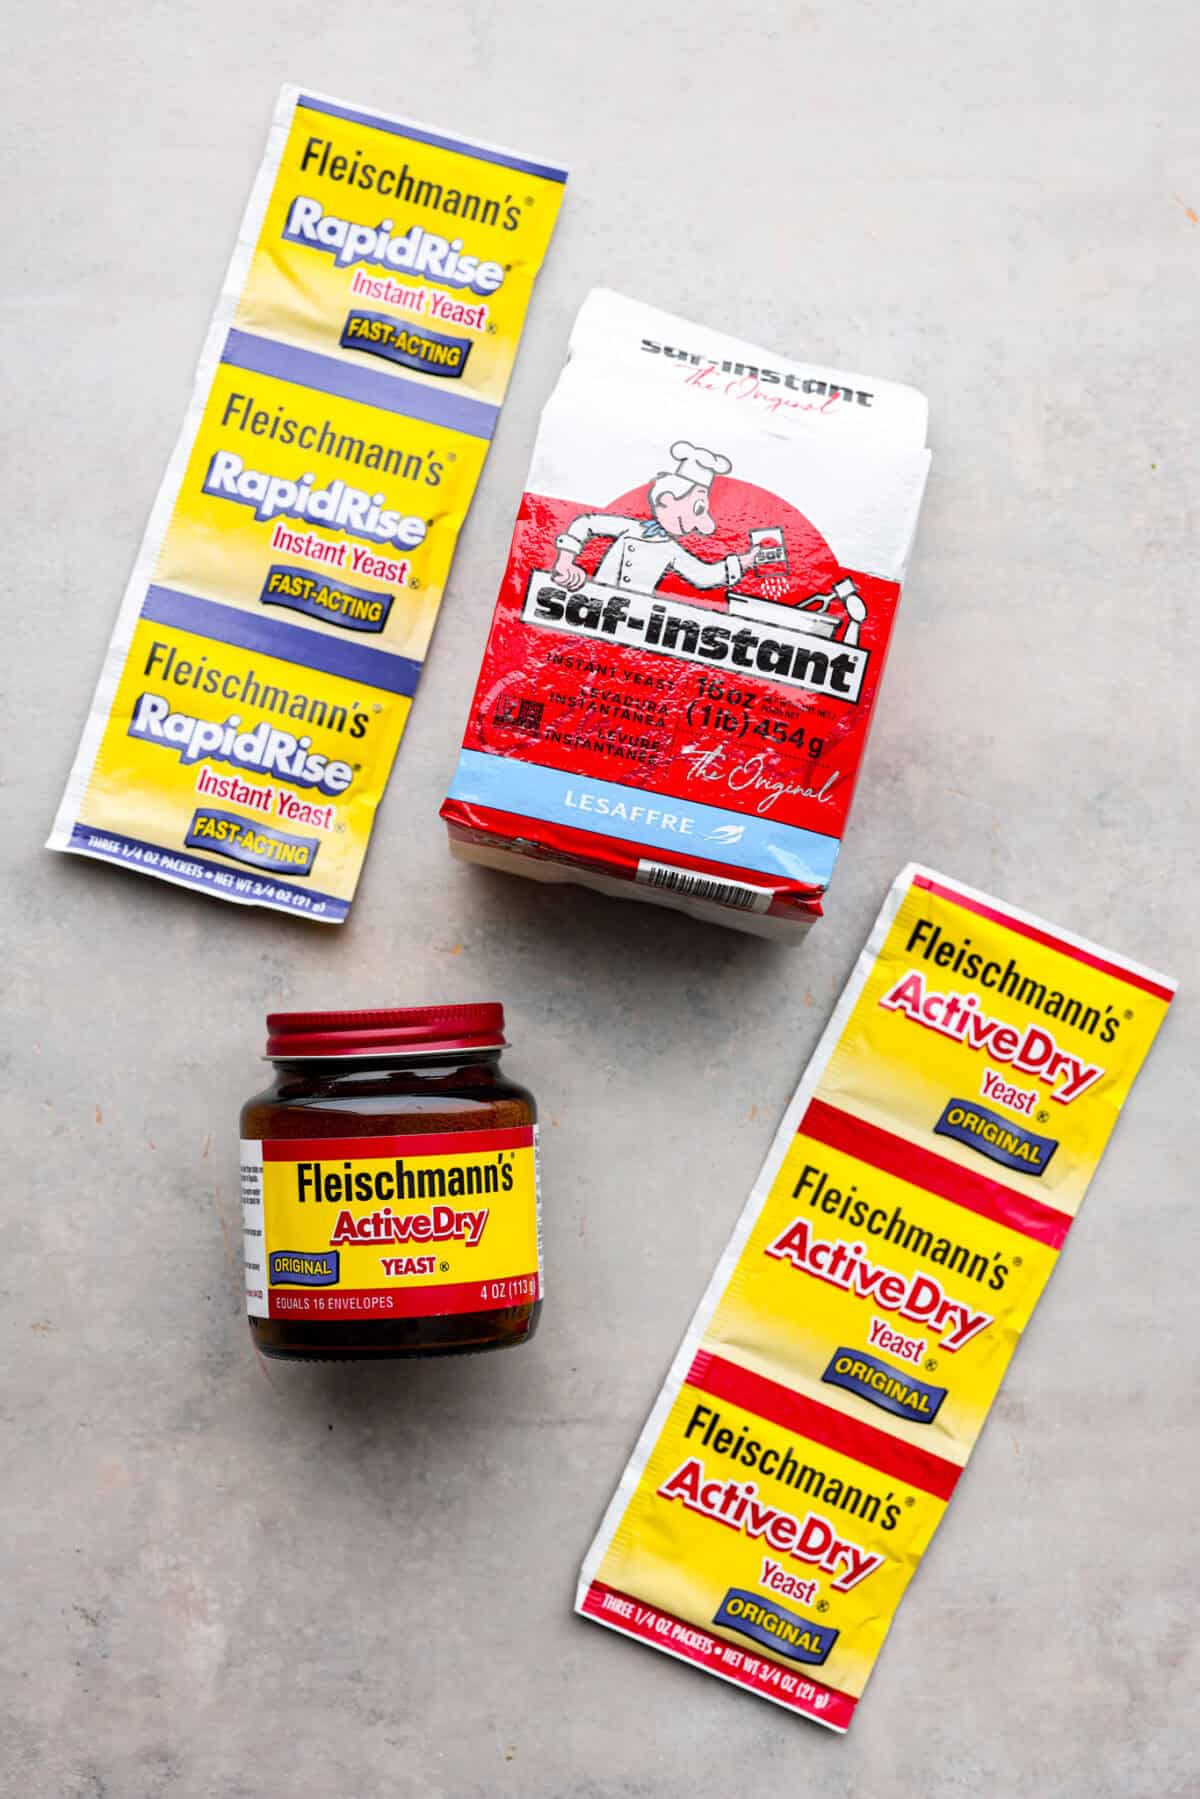
Active Dry Yeast vs Instant Yeast
- Active Dry Yeast: This needs to be “activated” before you can use it in your recipe. To do this, dissolve it in a bowl of warm water and sugar to activate active dry yeast. Then, add it to the wet ingredients.
- Instant Yeast: Also called “rapid rise” or “Quick rise” yeast, this is typically whisked together with the dry ingredients and mixed right into the dough. No activation required.
When to Use Active Dry Yeast or Instant Yeast
Both yeasts can be used interchangeably at a 1:1 ratio; the difference is the time it takes for your dough to proof. Baking with yeast can be simple, you just need to know which kind to use!
- When to Use Active Dry Yeast: If you are baking bread, have the time, and want a bread that’s deep and rich in flavor, I would use this yeast. There is a lot more wiggle room when it comes to giving the dough a longer proofing process when you use active dry yeast.
- When to Use Instant Yeast: This is great for things like cinnamon rolls or quick, simple bread (used for sandwiches or toast).
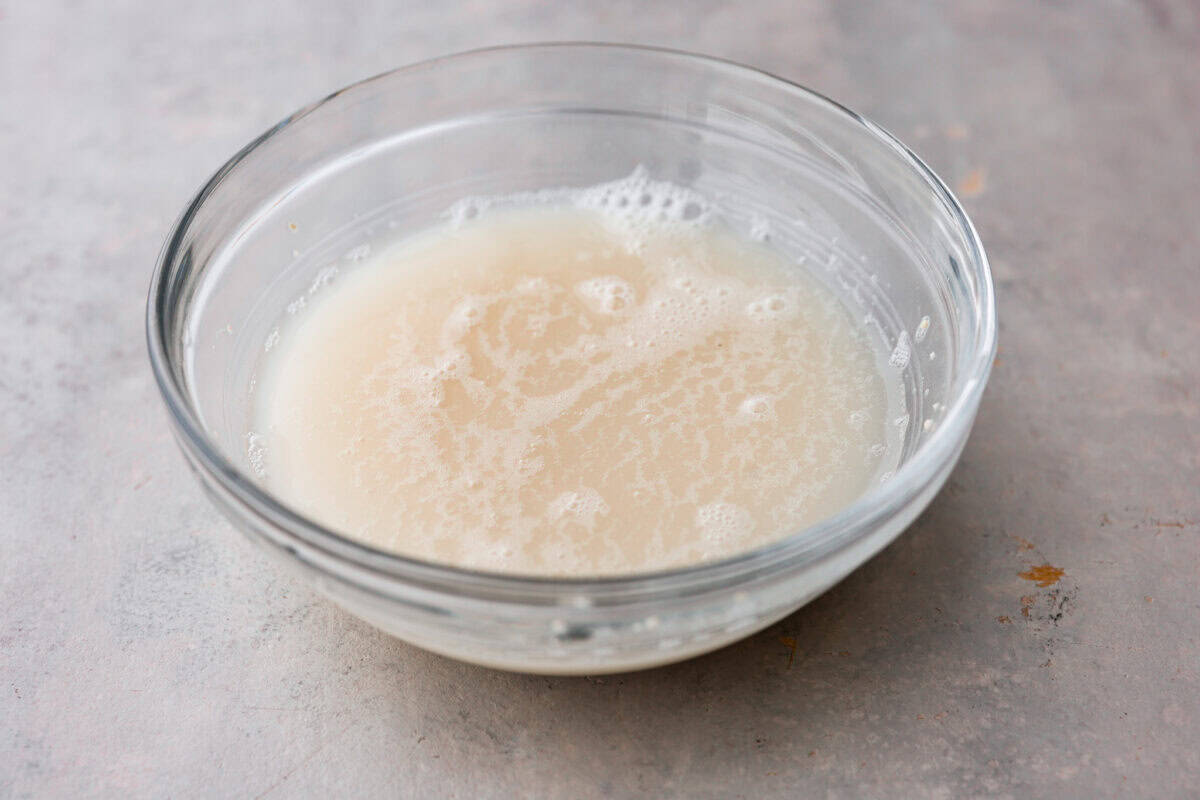
How to Know if Your Yeast Has Expired
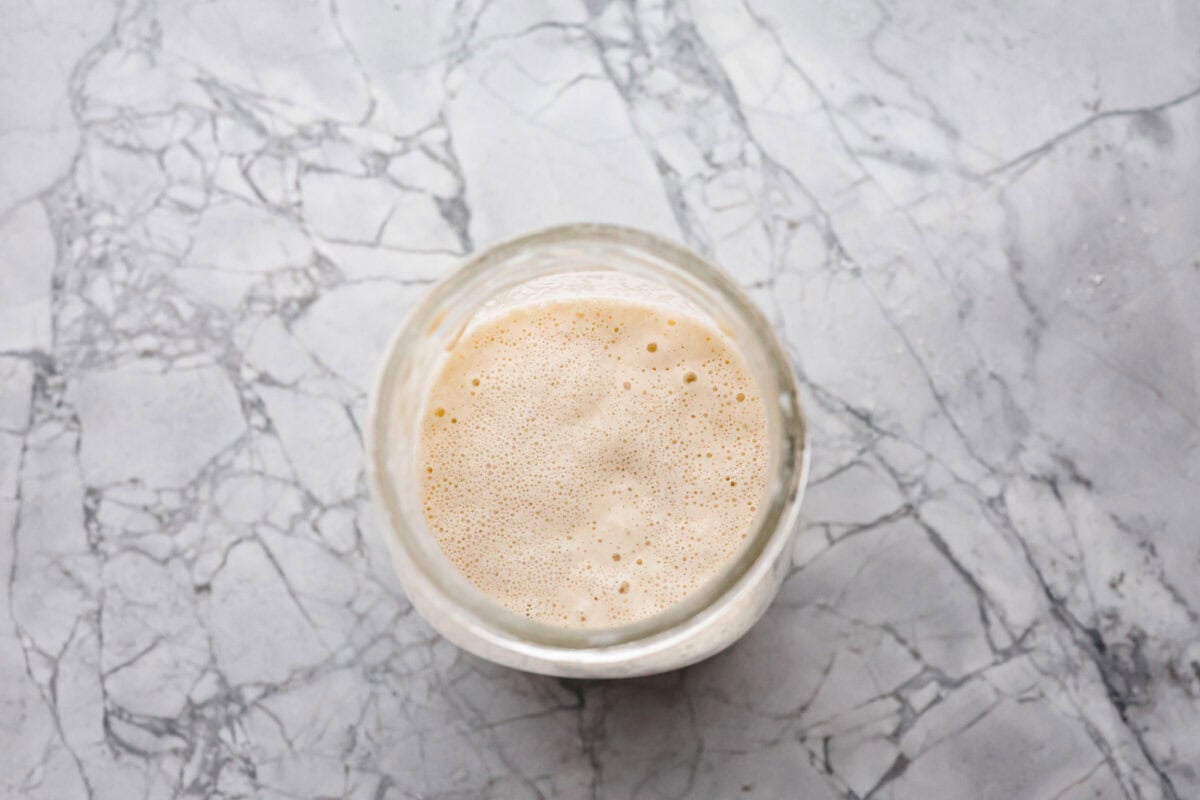
The best way to test your yeast, whether it’s active dry, or instant, is to mix one packet (or 2 ¼ teaspoons) of the yeast with ½ cup of warm water and 1 tablespoon sugar or honey. Whisk the ingredients together and let the mixture sit undisturbed for at least 15 minutes. The mixture should become foamy or bubbly at the top. If it doesn’t foam up, then the yeast is bad and should be thrown out.
How to Store Yeast
Whether you buy your yeast in the packets, in the little jars, or in the vacuum-sealed packets, I recommend storing the yeast in the fridge or freezer. While both active dry yeast and instant yeast are shelf stable and can be kept at room temperature, they will last much longer if they are kept refrigerated or frozen.
- Storing Yeast at Room Temperature: A sealed, unopened jar of yeast or vacuum-sealed packet has a shelf life of two years, although I’ve heard it is supposed to be good indefinitely. For the packets, I have found that keeping them around for longer than a year will typically result in the yeast becoming inactive.
- Storing Refrigerated Yeast: Once a jar has been opened, it must be refrigerated, or it will go bad within a few months. In the fridge, a jar of yeast will last at least four months, sometimes a little bit longer.
- Storing Yeast in the Freezer: A jar of yeast can be stored in the freezer for at least 6 months and even up to a year.
**Always test your yeast if you are unsure whether it will work. **
Yeast Storage Test Results
During the tough times of the pandemic in 2020, when bread was hard to find, I got a big pack of yeast and split it into smaller jars. I put three in the freezer for later and kept one in the fridge. I used the one in the fridge over the next year, and it stayed good the whole time.
Later, in 2023, I decided to buy new yeast from the store. But guess what? The yeast I kept in the freezer for three years still worked perfectly fine! I made sure to check it every month to make sure it was still good. So, if you want to keep yeast for a long time, store it in the freezer and test it regularly.
Can I Use Yeast for a Sour Dough Starter?
Yes, you can use active dry yeast to start a sourdough starter! This is a much quicker and easier way to create your starter. If you are looking to do this from scratch, without yeast, check out my Sourdough Starter post!
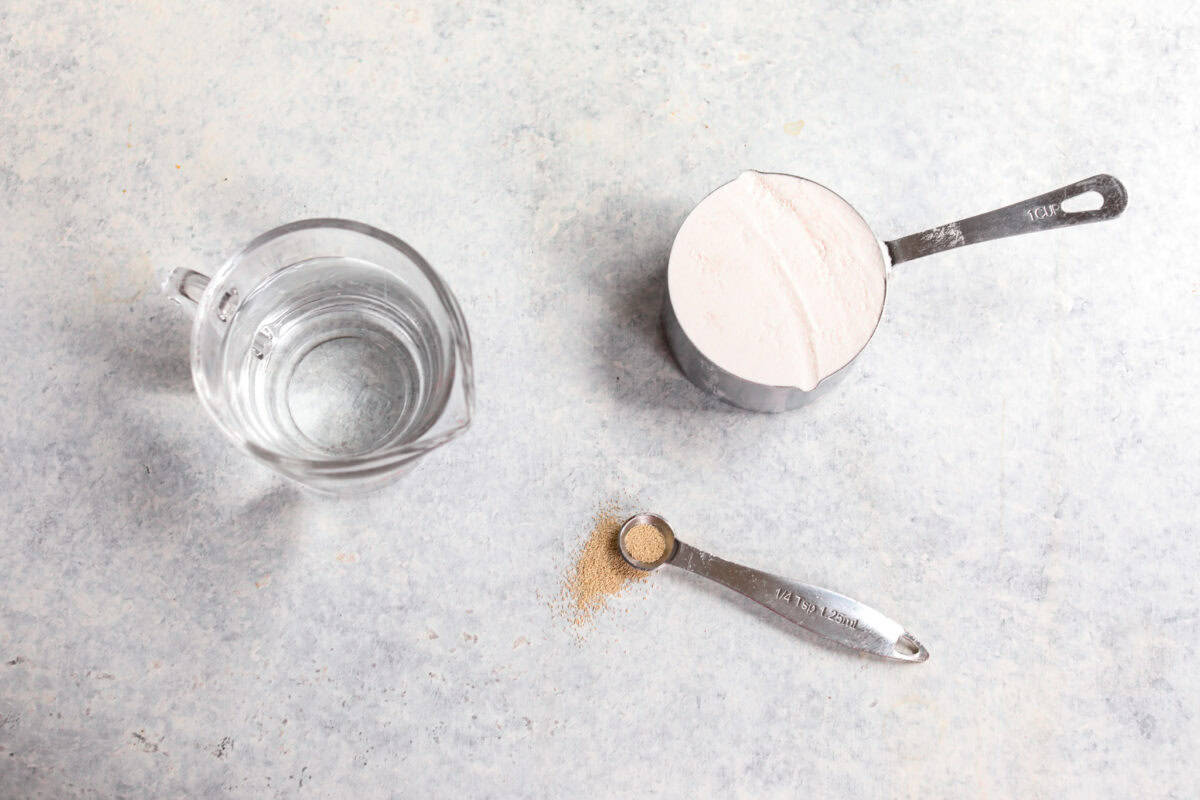
Ingredients:
- 1 cup all-purpose flour (you can also use bread flour or a wheat flour blend)
- 1 cup cold water
- A pinch of active dry yeast (just less than ¼ teaspoon)
Instructions:
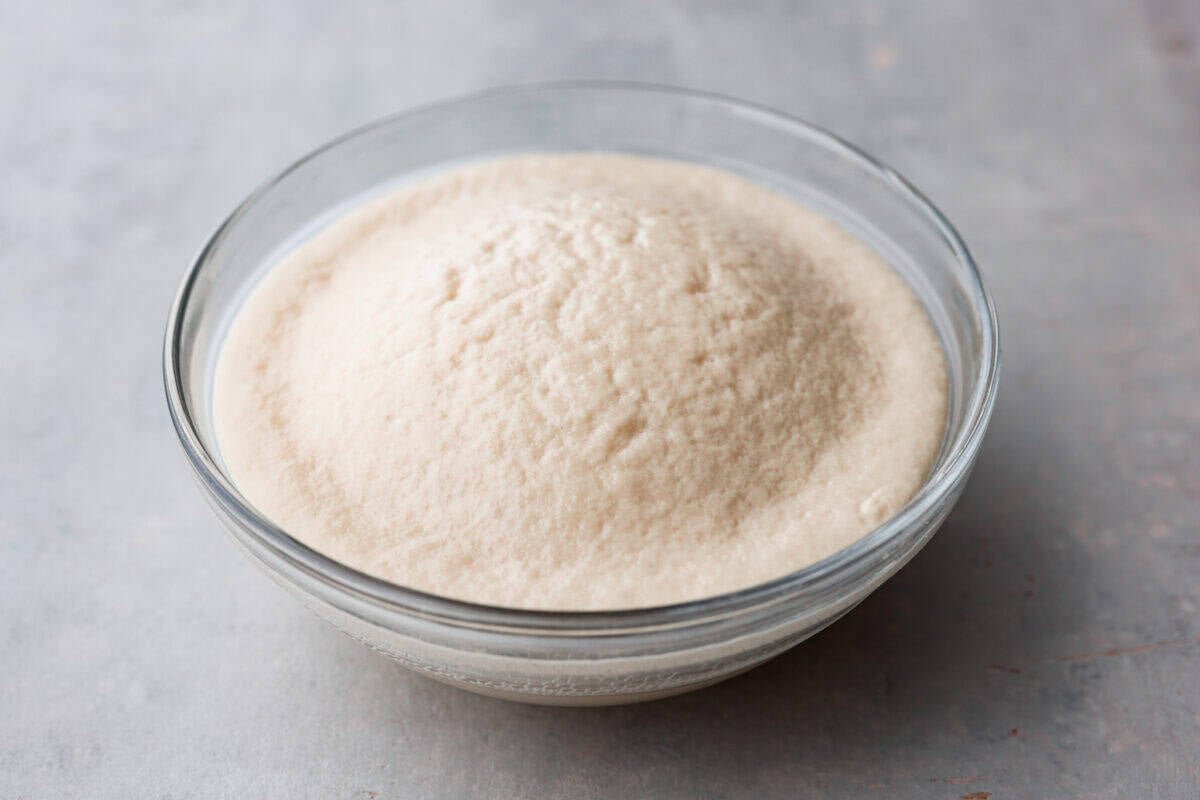
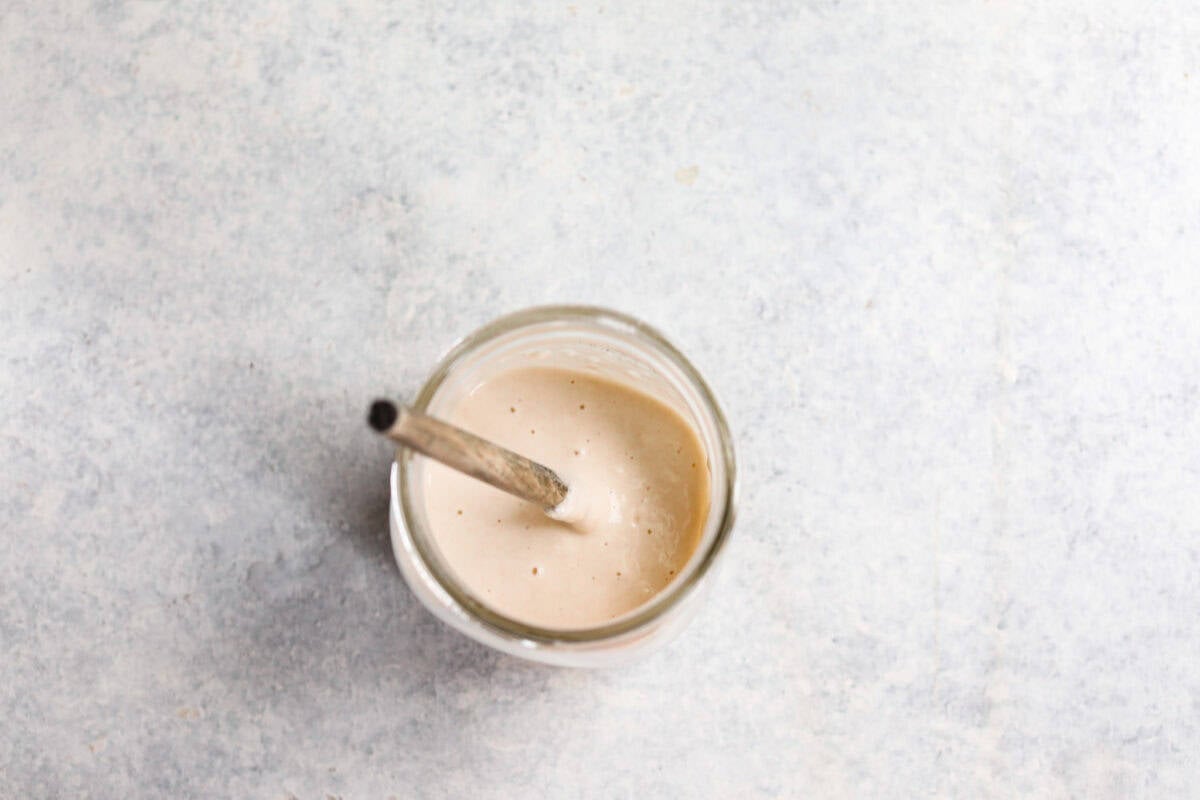
- Mix everything with a spatula, place it in a glass or plastic container, and lightly cover it with a lid. You want your starter to be able to breathe.
- In about 12 hours, the starter will have matured and has more than doubled in size.
- Take ¼ cup of the mature starter, mix it with 1 cup of cold water and 1 cup of flour, mix everything together, and place it again in a container with the lid loosely secured. This process is called feeding the starter. ***You can either use the rest of the mature starter or discard it in the garbage. Never dump the starter down the drain. **
- Feed the starter every 12 hours if it’s kept at room temperature or every 2-3 days if it’s in the fridge.
The longer you keep it alive with regular feedings, the richer it will be.
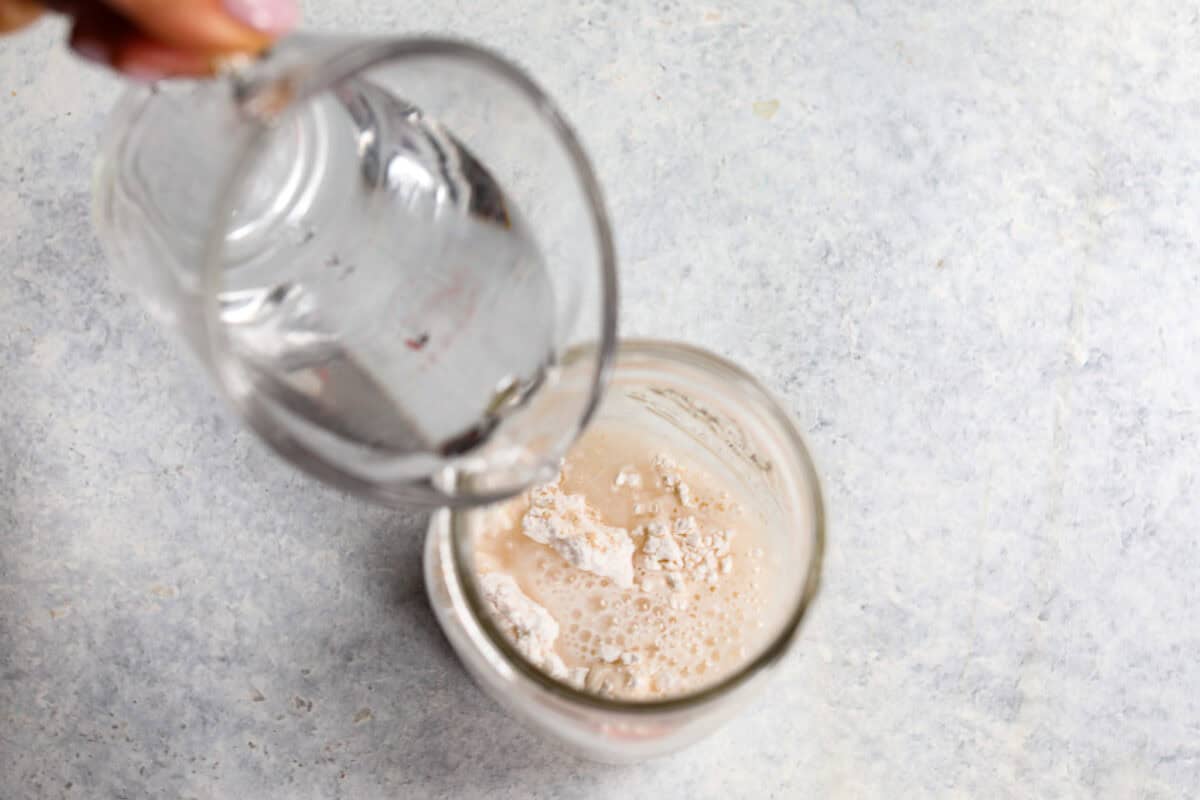
pour in the water.
double in size.
Recipes to Bake with Yeast